When we first visited what was to become our aptly named “Forever House”, we were less than excited by the kitchen. The “Fiesta Red” melamine countertop matching the walls and the honey maple cabinets matching the floor, oh boy! I know statistics say that people buy a house based on the kitchen and bathrooms, well we bought ours with renovations in mind!
We put all our chips in the house, which left us with little to no budget for undertaking major renovation projects… especially after we had the unfortunate news of having to change our gas furnace in the middle of the winter.
Dang these things are expensive!
So, just so you know, if you ever come and visit our house, chances are I’ll take you down to visit the said furnace and maybe even sip a glass of Chardonnay beside it, just so I feel like I am amortizing the investment. Enough said.
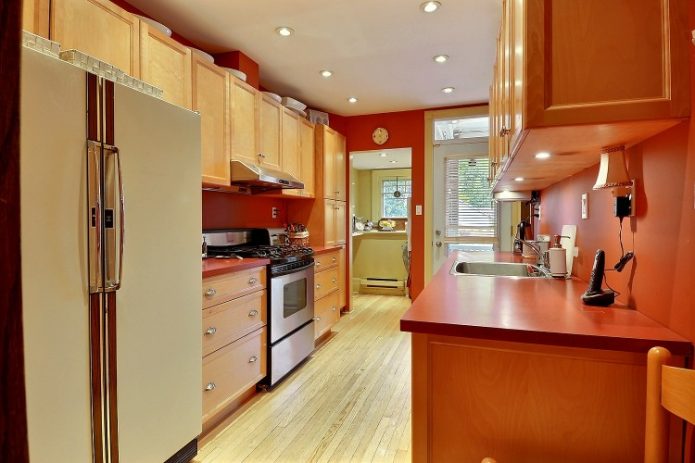
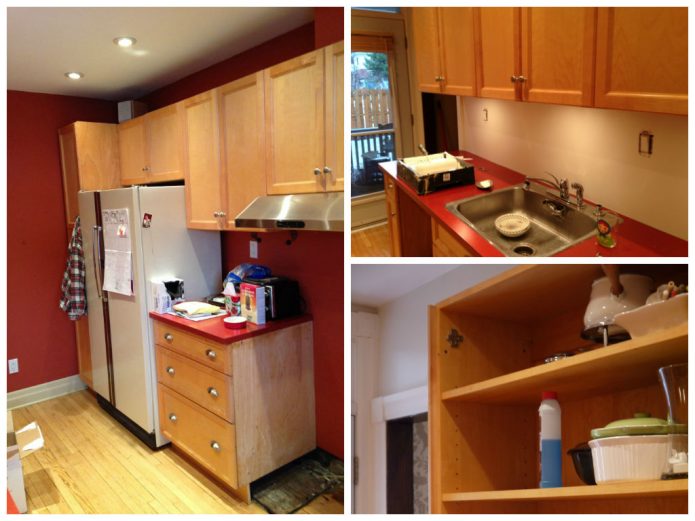
So this was the kitchen on the day we moved in, December 7th 2013
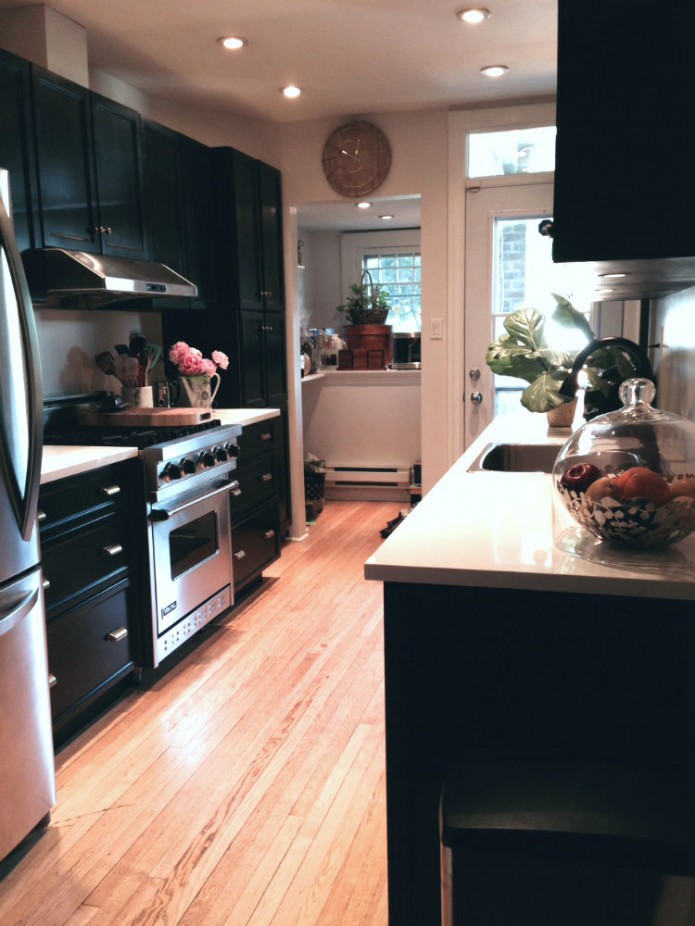
Back to the kitchen. So, budget being an issue – and the kitchen in its current state also being an issue – Jonathan and I decided to do it ourselves. The cabinets were made of maple, so salvaging them was a good idea. The footprint of the kitchen was pretty much optimized unless we tore down a wall between the kitchen and dining room, which we had no plan on doing – I don’t really love my guests eating with my cooking mess in plain sight.
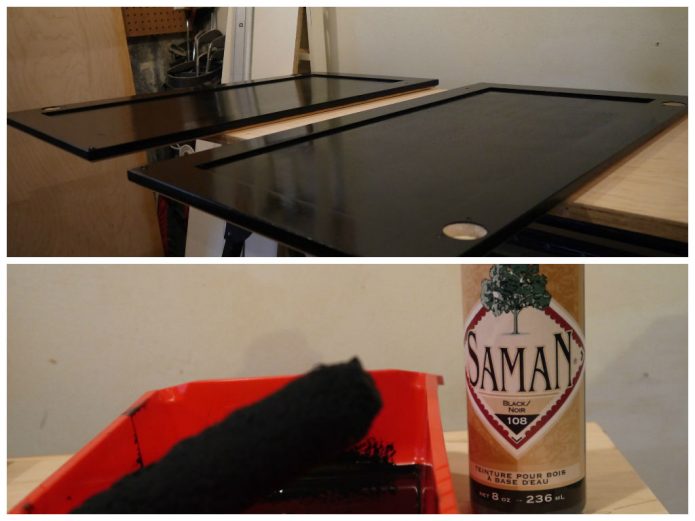
Braced with patience, zeal, and a whole lot of hope that it would look nice, we used 3 coats of black stain instead of paint to transform the cabinets so we could feel the wood grain underneath and then we sealed each cabinet door with water based satin floor lacquer for durability. For the pretty finishing touch, I chose brass knobs and pulls for all the cabinets, 53 in all, to give the kitchen a bit of nautical sophistication.
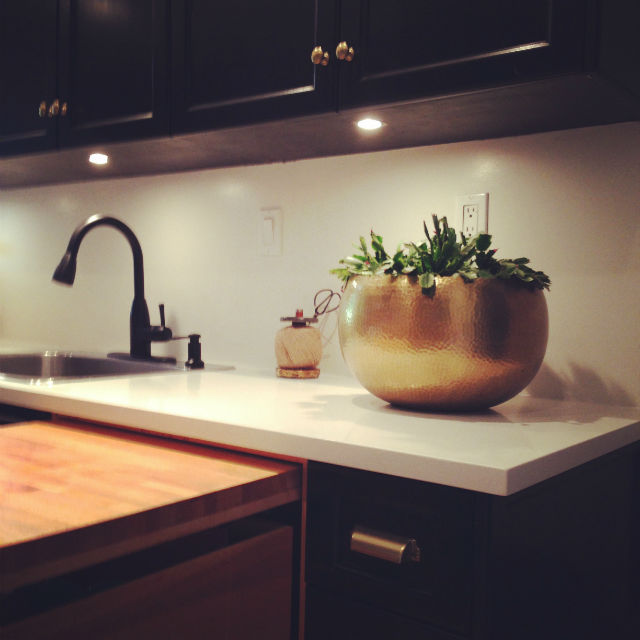
Because we have an under sink garburator (it was there and we kept it, no other valid reason for owning one since we are compost-crazy in this household), we decided to keep the top mount stainless sink and simply change the faucet for a black one, to match the cabinets.
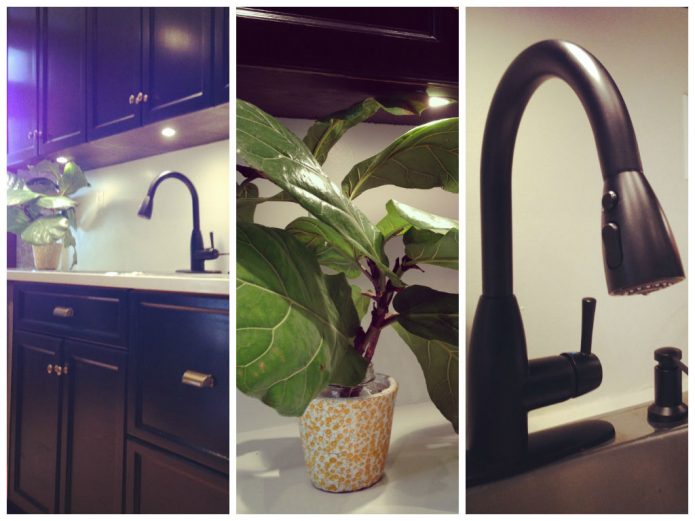
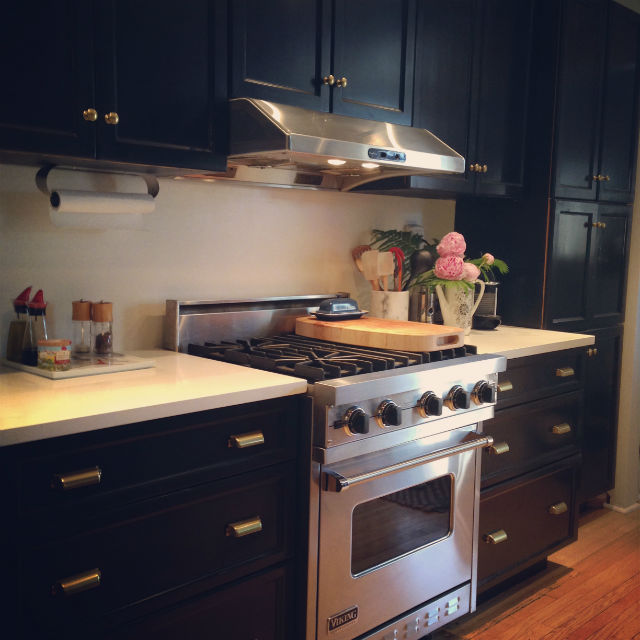
Finally, the “piece de résistance” arrived late last night, our white quartz countertop. I have to confess that my husband was skeptical about the colour choice of the countertop as he thought it would look to stark and modern in our 94 years old home. But the result is, hummmm how can I put it, SEXYYYYYYY!!!! This is some serious counter and it gave us a serious fright when it arrived last night.
The man who came to measure the kitchen 3 weeks ago did not manage to get one measure right and all 3 pieces of our counter top were too deep. The sink portion was 1/4 inch to deep, so the men cut the gypse of the wall and pushed it in. On the gas range side, both pieces were 3” too deep!!! So, they went back out in the truck and were cut to size using a diamond blade.
I was about to cry I was so anxious!!!
It is because you REALLY do not want the counter to chip, because then they have to completely redo the process which would have meant another 3 weeks (plus holidays) of us preparing food in our upstairs bathroom!! Not an option!
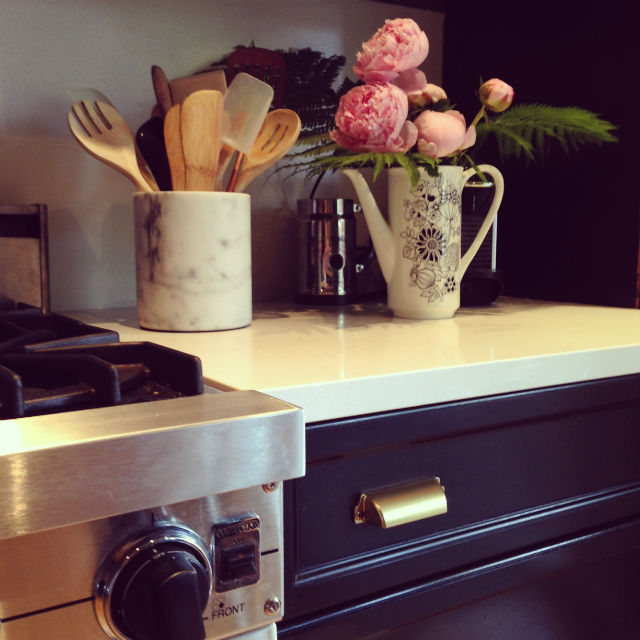
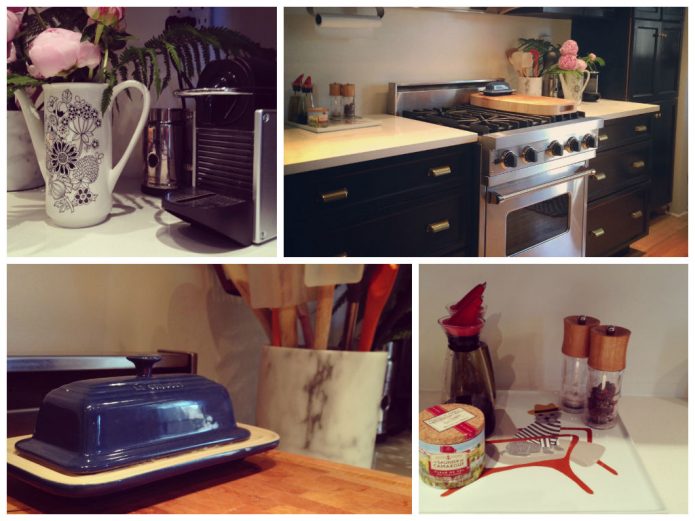
So there you have it, I was so excited to share with you our new and (much) improved kitchen – hence explaining the pictures of so-so quality – but we are still a little way from being done. Here are the items left to be completed.
What’s Left:
– Buy and install backsplash tiles
– Find carpet runner
– clean up & organize the Butler’s pantry
– cover the stainless fridge and dishwasher with “Wrap My Kitchen” in Carbon Black
– Make great pictures of the final kitchen and share them with you all!
Shopping List:
Saman Stain n Black: Home Depot
Awning Cup Pull: Martha Stewart Living
Brass Goblet knob: Martha Stewart Living
Black Water Based Stain: Saman Water Based Wood Floor Varnish: Saman Fairbury
Single-Handle Matte Black Faucet: American Standard
French Kitchen Marble Utensils Crock: Crate & Barrel
Claudia Pearson Dog Tray: West Elm Oil &
Vinegar Bottles: Trudeau
Gas Range: Viking
Pixie Coffee Machine: Nespresso
Antiqued Brass Bowl: Ethan Allen
Rustic Plant Pot in Poppy Yellow Medium: Virginia Johnson
xox
v.
photos: Vanessa Sicotte
Trop belle cette cuisine!!! <3
What you and your hubby have accomplished is nothing short of extraordinary! The kitchen looks like it was completely overhauled! Bravo, I love everything about it! :)
Thanx Sue!!! We put a lot of time and sweat into it. :)
C’est impressionnant Vanessa !! Les poignées sont la touche finale qui donne une personnalité qui n’est pas déjà vu et j’avoue que les armoires noires sont super belles ! Je suis vendue complètement à l’idée maintenant !!
Bravo !
Beautiful!
Vanessa!
superbe résultat!
Mes cabinets sont en bois, mais je les voudrais plus pâle (blanc-gris pâle)
est-ce que la teinture est aussi conseillée? ou je dois apprêter et peinturer?
Dans le cas de la peinture, laquelle me conseilles-tu? on m’a parlé de peinture a mélamine… pas sûre ; )
Merci de tes précieux conseils!
Merci!
D’abord nettoies bien les armoires avec du TSP puisque dans la cuisine il y a beaucoup de corps gras. Pour ma part, j’ai pris de la teinture, sur mes armoires d’érable, plutôt que de la peinture pour un effet de transparence. De la peinture fonctionnerait très bien aussi, mais j’appliquerais ensuite un vernis à plancher à base d’eau par dessus pour la rendre plus durable. Et il FAUT sabler entre chaque couche pour un fini digne d’une cabine de peinture. En fait de peinture, j’aime beaucoup la Benjamin Moore ou la Pittsburg qui sont toutes les deux couvrantes.